Hi there friends,
So I know that it is still early in the month of September, but living in theme park city we start celebrating holidays way early around here! Halloween actually started the last weekend of August at Disney, which yes I agree is nuts but what are ya gonna do about it rather than get into the spirit. Halloween at Disney has always been lots of fun for me especially attending Mickey's Not So Scary Halloween Party. This is a special hard ticket event that happens only certain evenings throughout Aug-Oct. Basically they make it ok to play dress up and go Trick-or-Treating as an adult. Also, there's a special Halloween parade full of characters you don't normally get to see at the parks and you can't forget about the Hocus Pocus Villain Spectacular show that takes over Cinderella's castle!
Well this year me and my guy did a little Disney bounding at Pongo and Perdita from 101 Dalmatians. To be honest I'm really surprised that he went along with it... he must be loving me even more these days lol. Amazon became like my best friend in finding most the pieces to put this together just a couple weeks ago. Seriously they made it so easy in finding what I needed, and it always gets shipped so quickly. The rest of the items I made myself with craft supplies from Michael's. DIY dog ears, and his shirt was fun last minute projects to complete the look for our night at MNSS.
Below I have steps listed on how I made our dog ears. They really weren't hard at all. Some felt, wire, and hot glue is all I needed, then I made them a little fancier by adding some fur. Take a peak and learn for your next costume.

Supplies
-White, black, and pink felt
-White and black fur
-Headband, Hat
-Wire and wire cutter
-Bow
-Scissor
-Hot glue gun/glue sticks
-Needle and thread
1. Cut your desired ear shape from paper and pin to felt to cut out.


I folded the felt in half after cutting my first one out to speed up the process.

2. Lay wire to shape the ear and cut where desired.

3. Glue the wire in place.

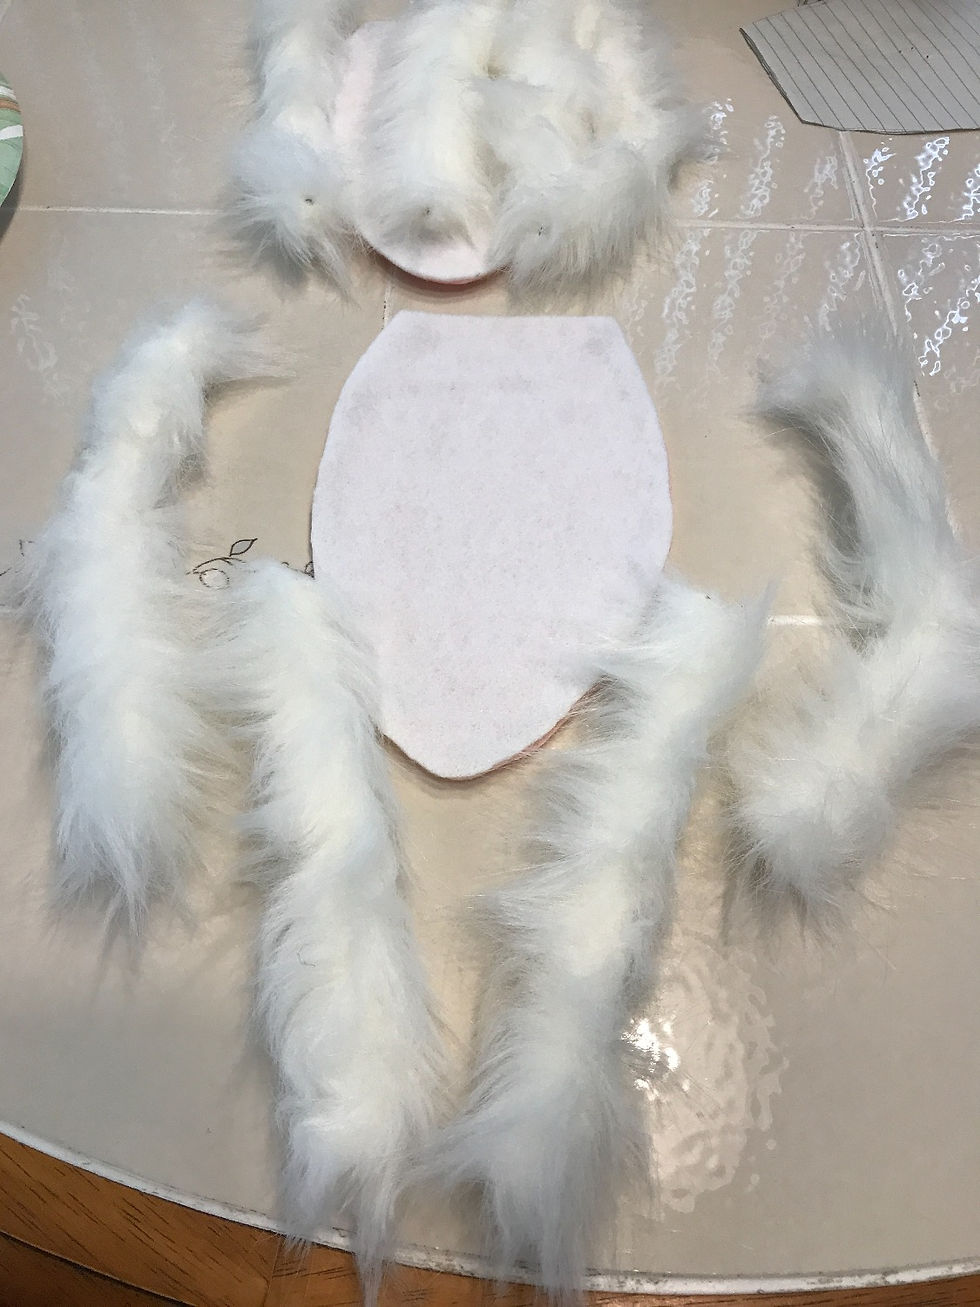
4. After the wire was glued down, I simply just glued the white felt on top of the pink using the hot glue as well. Then since I had this wired fur I used it! I cut 4 pieces per ear to glue down on top of the felt. This added more realness to the ears and helped shaped them once done and attached to our headband and hat.

5. Figuring out where I wanted the ears place was probably the hardest part, but once that was decided I simply tacked the ears on using a needle and thread. for my white ears I obviously used white thread and for his black I used black.
And just because I love everything as girly as possible I sewed a bow onto my ears.
After this was all done, all I did to add the finishing touches to make these dalmatian ears was take a black sharpie and draw on spots wherever I felt best (as seen in other pix below).

Then as for as his shirt I just got a plain white tee and cut some black dots out of felt and glue them on. Super simple and easy. I made his ears the exact same way, he just wanted his ears not to stand up as much as mine... which can you blame him lol. He was such a good sport and went along with everything that night for me, I love him so much!


I hope you think this fun Disney bounding was as cute as I did. I was really proud of it all coming together for our night of trick-or-treating at the park. I'm not gonna lie, I was a little nervous about the ears, because honestly I just winged it and hoped they weren't going to fall apart lol. Job well done, and now onto the next!
xo's
L
Follow me on IG and Subscribe


